
 Pin it
I've been baking this chocolate cake for years now, and it's turned into my go-to dessert whenever we're celebrating something special. It's super rich, stays moist for days, and packs such an intense chocolate punch that it turns ordinary get-togethers into something people talk about afterward.
The story behind this cake started when my daughter wanted chocolate for her 10th birthday party. I tried out so many different versions until I found this one - her face lit up the second she took a bite. Now everyone in my circle asks for it whenever there's a party coming up.
Ingredients
- All purpose flour: Gives your cake the right structure without getting tough
- Granulated sugar: Works with the cocoa and helps lock in moisture
- Unsweetened cocoa powder: Brings that intense chocolate flavor, try Dutch processed for something even richer
- Baking powder and baking soda: Team up to make your cake rise just right
- Salt: Perks up all the flavors, especially bringing out the chocolate notes
- Milk: Makes everything more tender and adds needed moisture
- Vegetable oil: Keeps everything way more moist than butter would
- Large eggs: Hold everything together and add a rich quality
- Vanilla extract: Makes the chocolate taste even more chocolatey
- Boiling water: Wakes up the cocoa powder so it gives its best flavor
- Unsalted butter: Creates a smooth, easy-to-spread frosting
- Powdered sugar: Makes your frosting smooth without any sugar grains
- Heavy cream: Gives the frosting that melt-in-your-mouth feeling
Step-by-Step Instructions
- Prepare Your Equipment:
- Get your oven going to 350°F and check it with a thermometer if you have one. Grease your cake pans with butter then put parchment circles in the bottom. This parchment trick will make sure your cakes pop out clean every time.
- Create The Dry Base:
- Put the flour, sugar, cocoa, baking powder, baking soda, and salt in a big bowl and whisk everything together. Make sure you break up any cocoa lumps for a smooth batter. Whisking also puts some air in there and spreads out all the rising agents.
- Incorporate Wet Ingredients:
- Add the milk, oil, eggs, and vanilla. Mix slowly with a mixer or by hand until everything just comes together. Don't mix too much or your cake will get tough. Your batter will look pretty thick right now.
- Add The Secret Ingredient:
- Pour in the boiling water and stir it gently. Like magic, the batter will change and become thin and shiny. The hot water brings out the cocoa flavor and is why this cake stays so moist. Don't worry that the batter looks runny - that's exactly what you want.
- Bake To Perfection:
- Split the batter between your pans. Tap each pan on the counter a few times to get rid of air bubbles. Bake on the middle rack for about 30 minutes, then check if they're done. A toothpick should come out with a few crumbs stuck to it but no wet batter.
- Cool Strategically:
- Let the cakes sit in their pans for 10 minutes after baking. This helps them firm up a bit. Then run a knife around the edges and flip them onto cooling racks. Pull off the parchment and let them cool completely for at least an hour.
- Create Luxurious Frosting:
- Beat room temperature butter for 3 minutes until it's light and fluffy. Slowly add powdered sugar and cocoa powder, alternating with splashes of heavy cream. Adding it gradually stops lumps from forming. Beat everything for another 5 minutes until it's super light and fluffy.
 Pin it
The boiling water is what makes this cake so special. I learned this trick from my grandma who always said it was the only proper way to make chocolate cake. She used to tell me that the batter should shine like silk before you put it in the oven. Whenever I'm making this cake now, I can almost feel her standing next to me in the kitchen guiding my hands.
Storing Your Chocolate Cake
This cake doesn't dry out like others thanks to the oil in the recipe. You can keep unfrosted layers wrapped in plastic at room temperature for about three days. Once you've frosted it, just keep it covered at room temperature and it'll stay good for up to five days. If you need to store it longer, wrap the unfrosted layers in plastic and foil and stick them in the freezer for up to three months. Let them thaw in the fridge overnight before frosting. What's cool is that this cake actually tastes better on day two as the chocolate flavors get deeper.
 Pin it
Simple Variations To Try
You can switch up this basic cake in so many ways. Try mixing in a cup of chocolate chips for little pockets of melted chocolate throughout. Instead of water, use strong coffee to bring out the chocolate flavor without making it taste like coffee. Put some raspberry jam between the layers for a fruity twist. If you want a grown-up version, brush each layer with a couple spoonfuls of Kahlúa or bourbon before you frost it. These small changes create totally different desserts while keeping that amazing texture.
Serving Suggestions
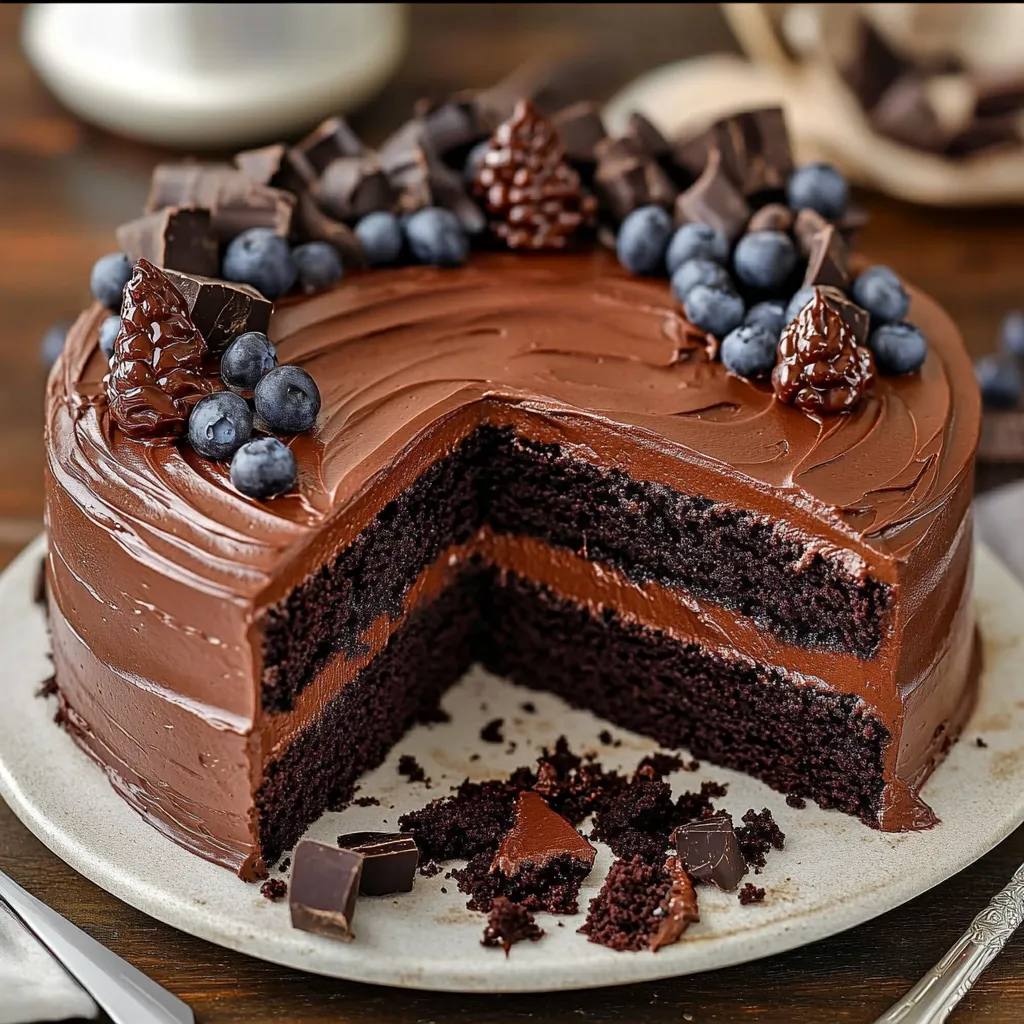
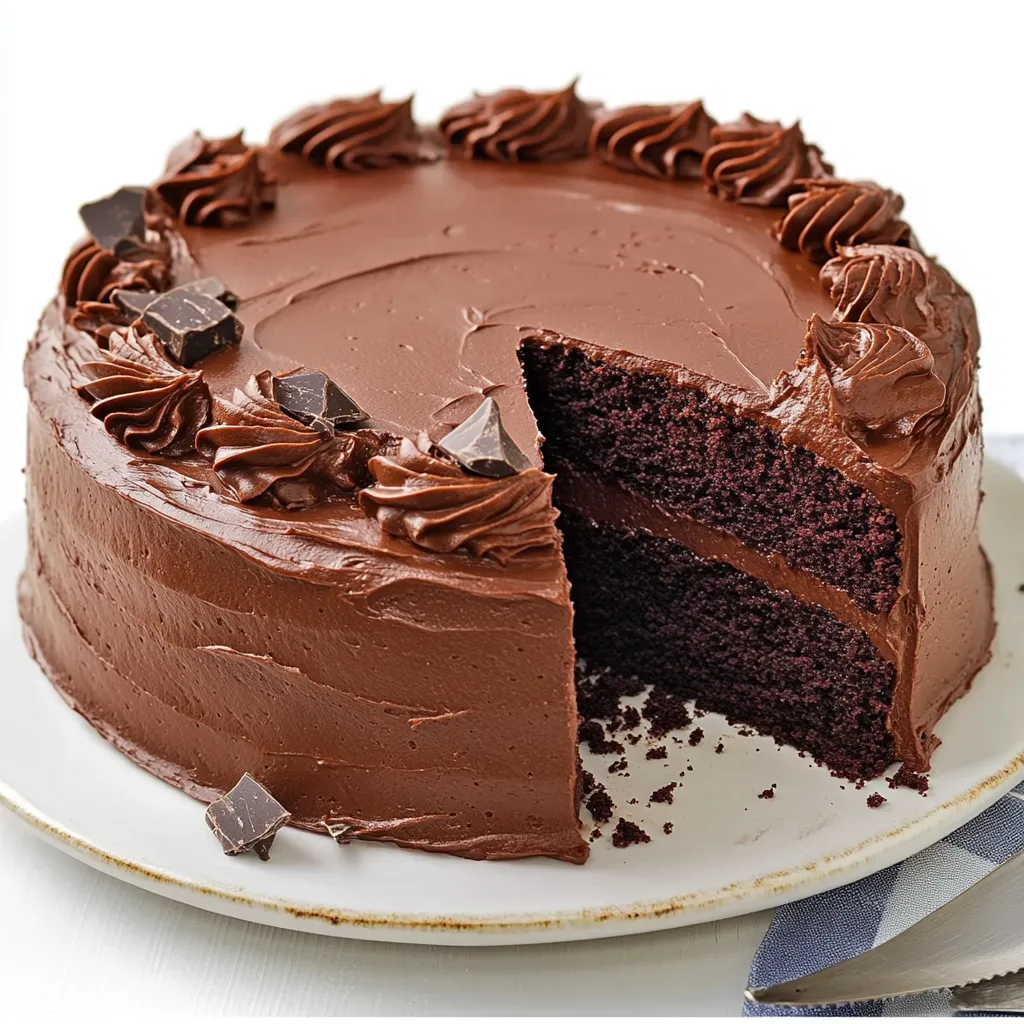
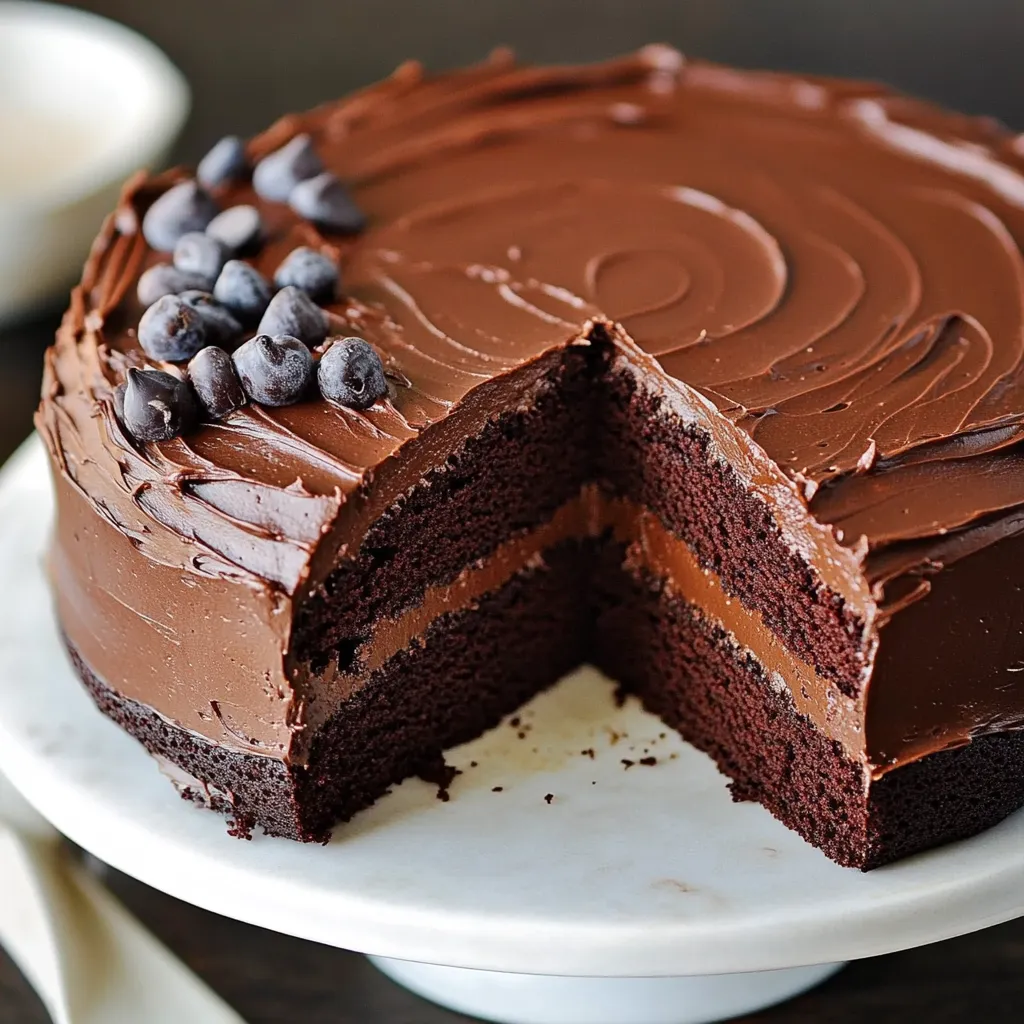
Show off this cake on a tall cake stand for the best wow factor. Top it with chocolate curls you can make by running a vegetable peeler down a chocolate bar. Fresh raspberries or strawberries look stunning against the dark cake and taste great with chocolate. For really special occasions, sprinkle some edible gold dust on top or serve with a scoop of real vanilla ice cream. Let the cake sit out until it reaches room temperature before serving so you get the full flavor and perfect texture.
The Science Behind The Magic
There's actual science behind why this cake works so well. The baking soda reacts with the acidic cocoa powder to make it rise perfectly, while the boiling water wakes up all the flavor compounds in the cocoa. The oil coats the flour proteins so they can't form too much gluten, which keeps everything tender. There's a lot of sugar compared to flour, and sugar actually grabs onto water molecules and locks them in the cake's structure, keeping it moist. When you know what each ingredient does, you can see why every step matters for the final cake.
Frequently Asked Questions
- → Can I swap the flour type?
All-purpose flour is best since it gives the cake structure. If you try alternatives like cake flour, the texture might turn softer, but careful adjustments are crucial to avoid big changes.
- → Is there another option for oil?
Melted butter or coconut oil can replace vegetable oil. Keep in mind, though, they might change the flavor and texture slightly.
- → How do I know the cake's done?
The cake is fully baked when you insert a toothpick in the middle, and it comes out clean or with tiny crumbs. Overbaking can dry it out, so don’t wait too long.
- → Which frostings also go well?
Chocolate frosting is amazing, but you could try buttercream, cream cheese frosting, or even ganache for varied tastes and textures.
- → Can I bake this in advance?
Sure! Prepare the cake layers, wrap them well with plastic, and keep them refrigerated for three days or frozen up to three months. Just frost before serving for the freshest taste.