
 Pin it
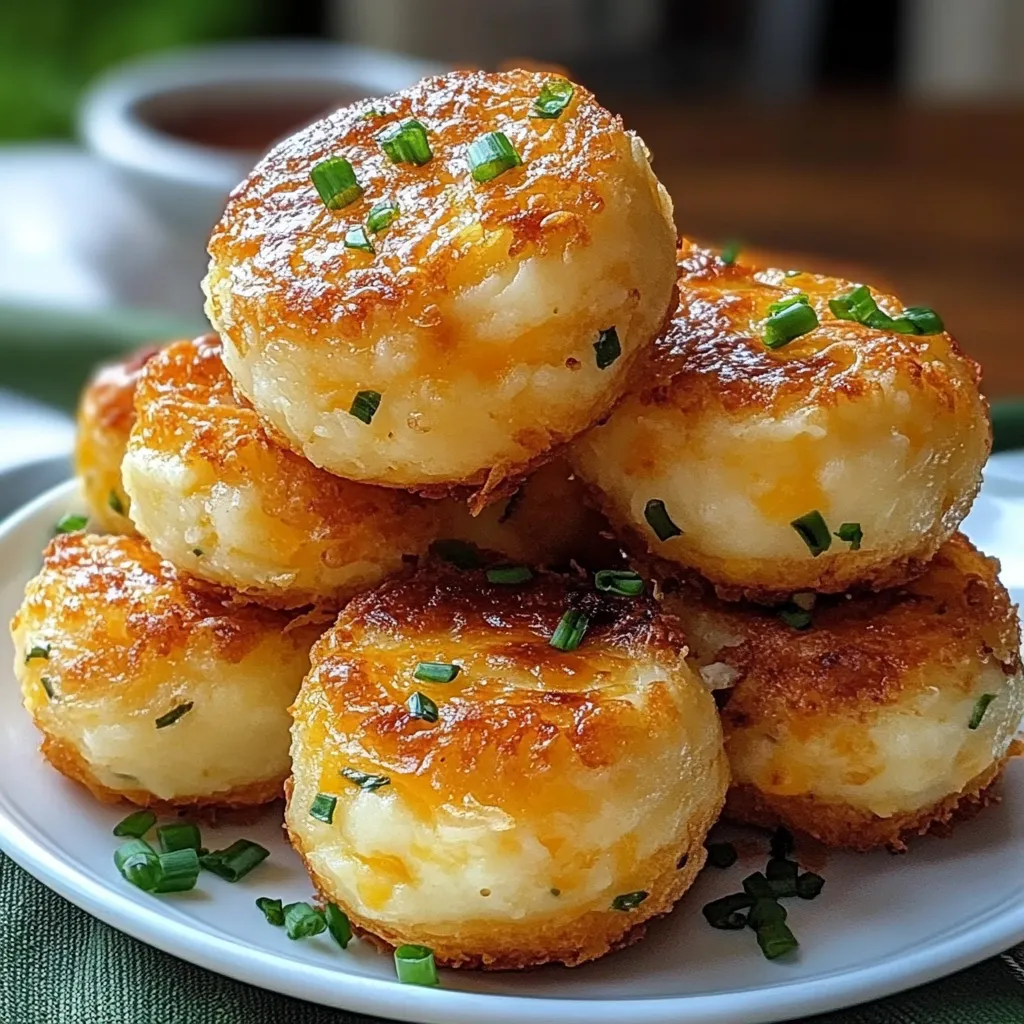
My family gatherings always see these golden Potato Cheese Bites vanishing fast - they turn regular leftover mashed potatoes into crunchy, cheese-filled treats. The crispy outside and soft, cheesy middle make these little nibbles my go-to party food that relatives constantly ask me to bring.
I threw these together one day when Sunday dinner left me with too much mash. My children weren't sure at first, but after one taste, they now actually bug me to make extra mashed potatoes just so we can whip up these bites the following day.
What You'll Need
- Mashed potatoes: They form your base - day-old cold ones work better since they stay in shape nicely
- Shredded cheese: Brings melty goodness and taste - sharp cheddar packs the most punch but try whatever you've got
- Egg: Keeps everything stuck together and adds a bit of richness
- Chopped green onions: They bring freshness against the rich stuff - chives make a good stand-in too
- Breadcrumbs: They're what makes the outside so deliciously crispy - try panko for extra crunch
- Melted butter: A quick brush before cooking gets you that lovely golden look and buttery taste
- Salt and pepper: Add to your liking, just remember your mash might already have some
- Garlic powder: Gives nice background flavor without taking over - mince some fresh if you prefer
How To Make Them
- Combine Everything:
- Put your cold mashed potatoes in a big bowl with the cheese, a beaten egg, finely cut green onions, salt, pepper, and garlic powder. Mix it all up until well combined but don't go overboard or they'll get sticky.
- Form Your Bites:
- Wet your hands a bit so nothing sticks, then grab about 2 tablespoons of mix and roll into balls around 1½ inches across. Your mix should hold its shape but still be workable. If it feels too mushy, stick it in the fridge for half an hour.
- Roll in Crumbs:
- Put breadcrumbs in a shallow dish and roll each potato ball until it's fully covered. Press gently so the crumbs stick well. This step gives you that amazing crunch that's so different from the soft inside.
- Get Ready to Cook:
- Line a baking sheet with parchment and arrange your coated balls about an inch apart. Take a pastry brush and lightly coat each one with melted butter for extra crispiness and browning.
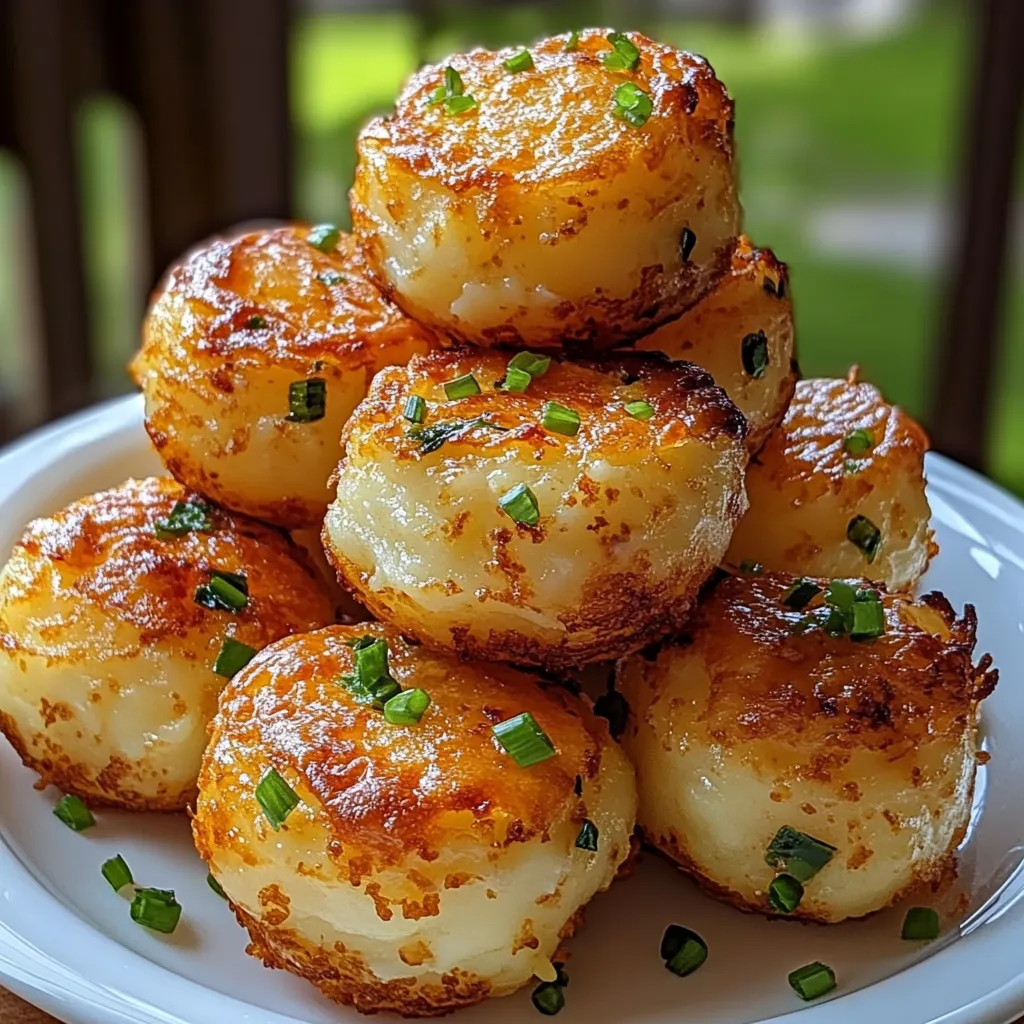
- Cook Them Up:
- Put them in an oven heated to 375°F for 20-25 minutes until they turn golden brown and crispy. Want them extra brown? Flip on the broiler for the last minute but keep an eye on them so they don't burn.
 Pin it
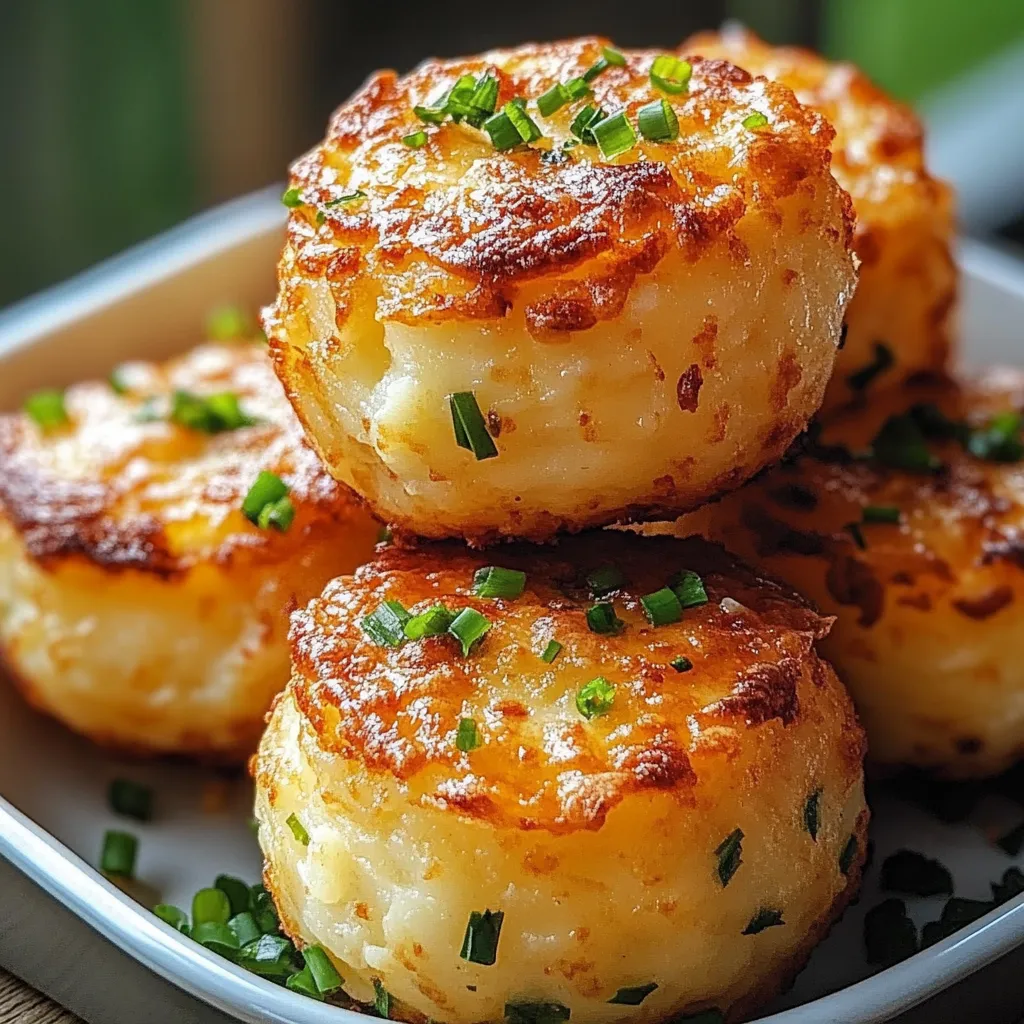
Green onions are what make these special. My grandma always put them in her potato dishes, and that light flavor takes me back to her kitchen every time I make these. I can still picture her working the potato mix, telling me to handle it gently to keep everything light and fluffy.
Prep Ahead Ideas
You can easily plan ahead with these bites. Make everything up to the baking part, then keep the coated balls in the fridge for up to a day. When you want to eat, just brush with butter and pop them in the oven. They might need a minute or two extra if they're cold from the fridge. I often make twice as many and freeze half before cooking them - just let them thaw in the fridge overnight before baking as normal.
Ways To Switch It Up
What's great about these potato bites is how many ways you can change them. Try adding bits of crispy bacon, different herbs like rosemary or thyme, or play around with various cheeses. Want some heat? Mix in chopped jalapeños or a sprinkle of cayenne. My family goes crazy when I hide a small chunk of cheese right in the middle of each bite for a melty surprise when you eat them. Just keep in mind that wetter add-ins might need extra breadcrumbs to keep everything together.
 Pin it
Ways To Serve Them
These bites work both as starters and side dishes. For appetizers, put out some sour cream, ranch dressing, or spicy mayo for dipping. As a side, they go really well with roasted meats or can make a simple soup feel like a full meal. At brunch, try topping them with a poached egg and hollandaise sauce for something fancy. I love putting them on a big plate with different dips and watching guests find their favorite combos.
Frequently Asked Questions
- → Can I prep these in advance?
Sure thing! Shape the balls and store them in the fridge for up to 24 hours. Bake them fresh when you're ready for the best crunch.
- → What kind of cheese should I use?
Cheddar and mozzarella are fantastic, but Parmesan or any gooey cheese works too. Feel free to experiment!
- → Is frying an option instead of baking?
Totally! Deep fry your potato balls for that extra crispy and indulgent texture.
- → How do I make these gluten-free?
Use gluten-free breadcrumbs or smash some gluten-free crackers to replace the breadcrumb coating.
- → What dips go well with these?
Try sour cream, marinara, spicy aioli, or even garlic butter—it all depends on your taste!